
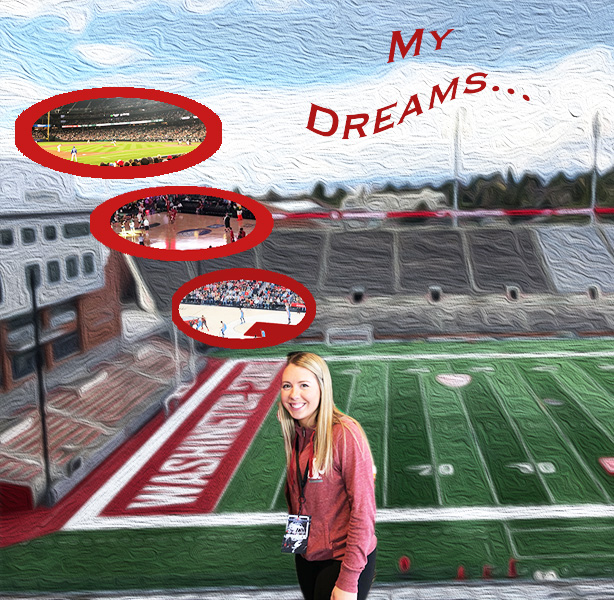
Initial Draft
In creating my initial draft, I had no clue where I was headed with the design of the brochure. Upon completion of the draft I came to really enjoy the design I created. During that process, I used a variety of tools however my editing process was fairly basic. To create these bubbles, I placed embedded images I had taken at various professional sports venues. I then used the elliptical marquee tool to create the shape. I took the idea from the brochures and decided to use Martin Stadium as my base layer. I later placed an embedded image of myself and used the magnetic lasso tool to cutout my figure. Once all images were embedded and cutout I used the move tool to place the photos in the correct spots. Using the text tool, I created a title of the brochure and utilized the warp text future to create a flag being pulled by an airplane. As you can tell I used the bare minimum for formatting and editing options.
Peer Feedback
In considering the peer feedback I received overall, I found it to be very useful. My peers provided me with great insight and ideas to help finalize my project. A couple people discussed how they thought adding borders around my thought bubbles would really bring the concept to life. Additional feedback that was common was the idea that the background needed to be blurred or lightened. My peers mentioned that with a lighter background effect it would not take away from the forefront images. A comment that I considered was applying a gradient to the text. One of my peers also mentioned that the airplane in my initial post was not fitting.
Final Revisions
The revision process to complete my final draft was fairly extensive. I began with scaling down the size of my thought bubbles using the edit transform and scale feature. I then removed the embedded airplane image by deleting the layer. From there I decided to emphasize the thought bubbles. I did this by using the elliptical marquee tool and later selecting the area. With the oval selected I used the paint bucket tool to fill in the selected oval. This created a border effect around the embedded images. To enhance the background based off of the feedback I received I used the filter tool from above to select stylize editing option. Under stylize I chose the wind effect. From there I was able to select the depth of the effect. Overall my revision process focused on more fine details.

Leave a comment